Forest Fruit & Blueberry ‘Cheese’Cake
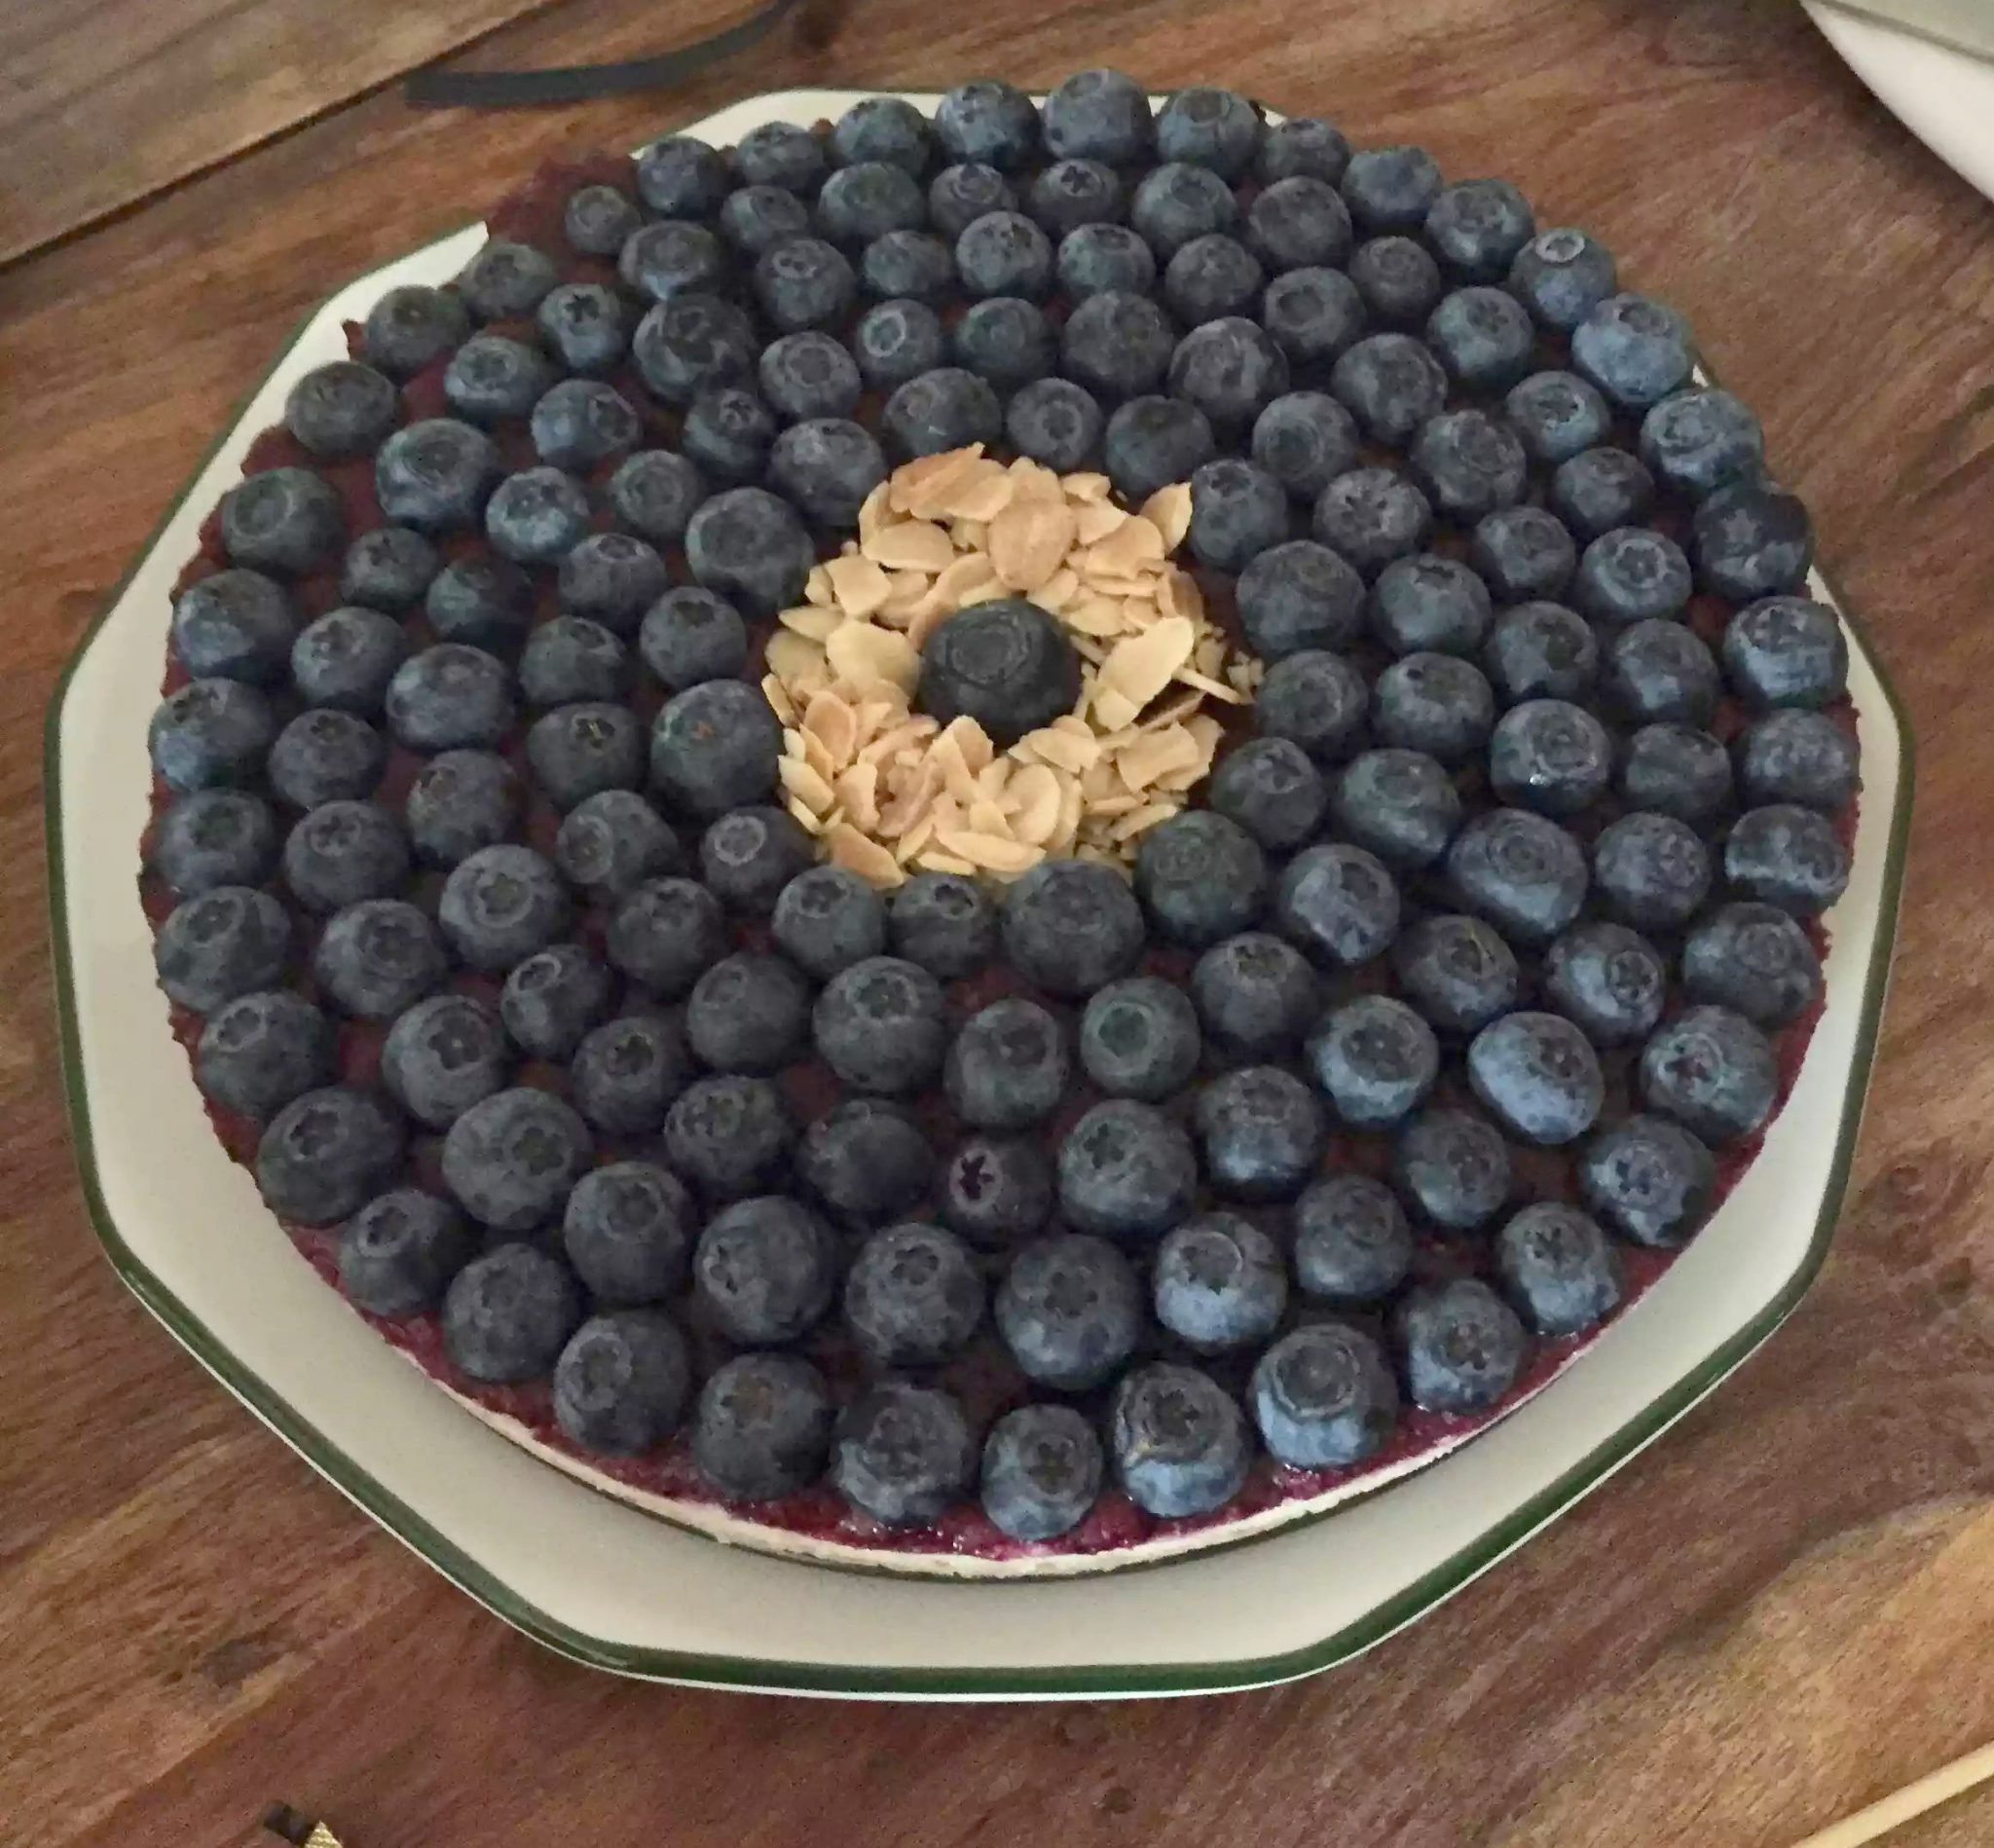
Heading to a hen party tomorrow, I wanted to make something a little bit special (but still healthy – so that I could eat it). I’m not usually a huge fan of sweet things, and would always pick cheese over a dessert, but I knew there’d be plenty of things to tempt me so I needed something to eat that I knew wouldn’t make me feel unwell.
Pinterest to the rescue again…As I pored over plenty of grain free, sugar free recipes I settled on a cheesecake, mainly because it was raw and didn’t involve baking and also because I’d never done the whole ‘blend up cashew nuts to make a cream cheese type substitute’ and I was intrigued to see how it would turn out. I also ended up winging a lot of it and creating my own recipe, purely based on what I happened to have in the kitchen to work with.
The cake is made up of three layers, the crust, the filling and the topping. Both the crust and the filling have ingredients that need soaking overnight, so this isn’t a cake you can make on a whim. You have to plan for it in advance.
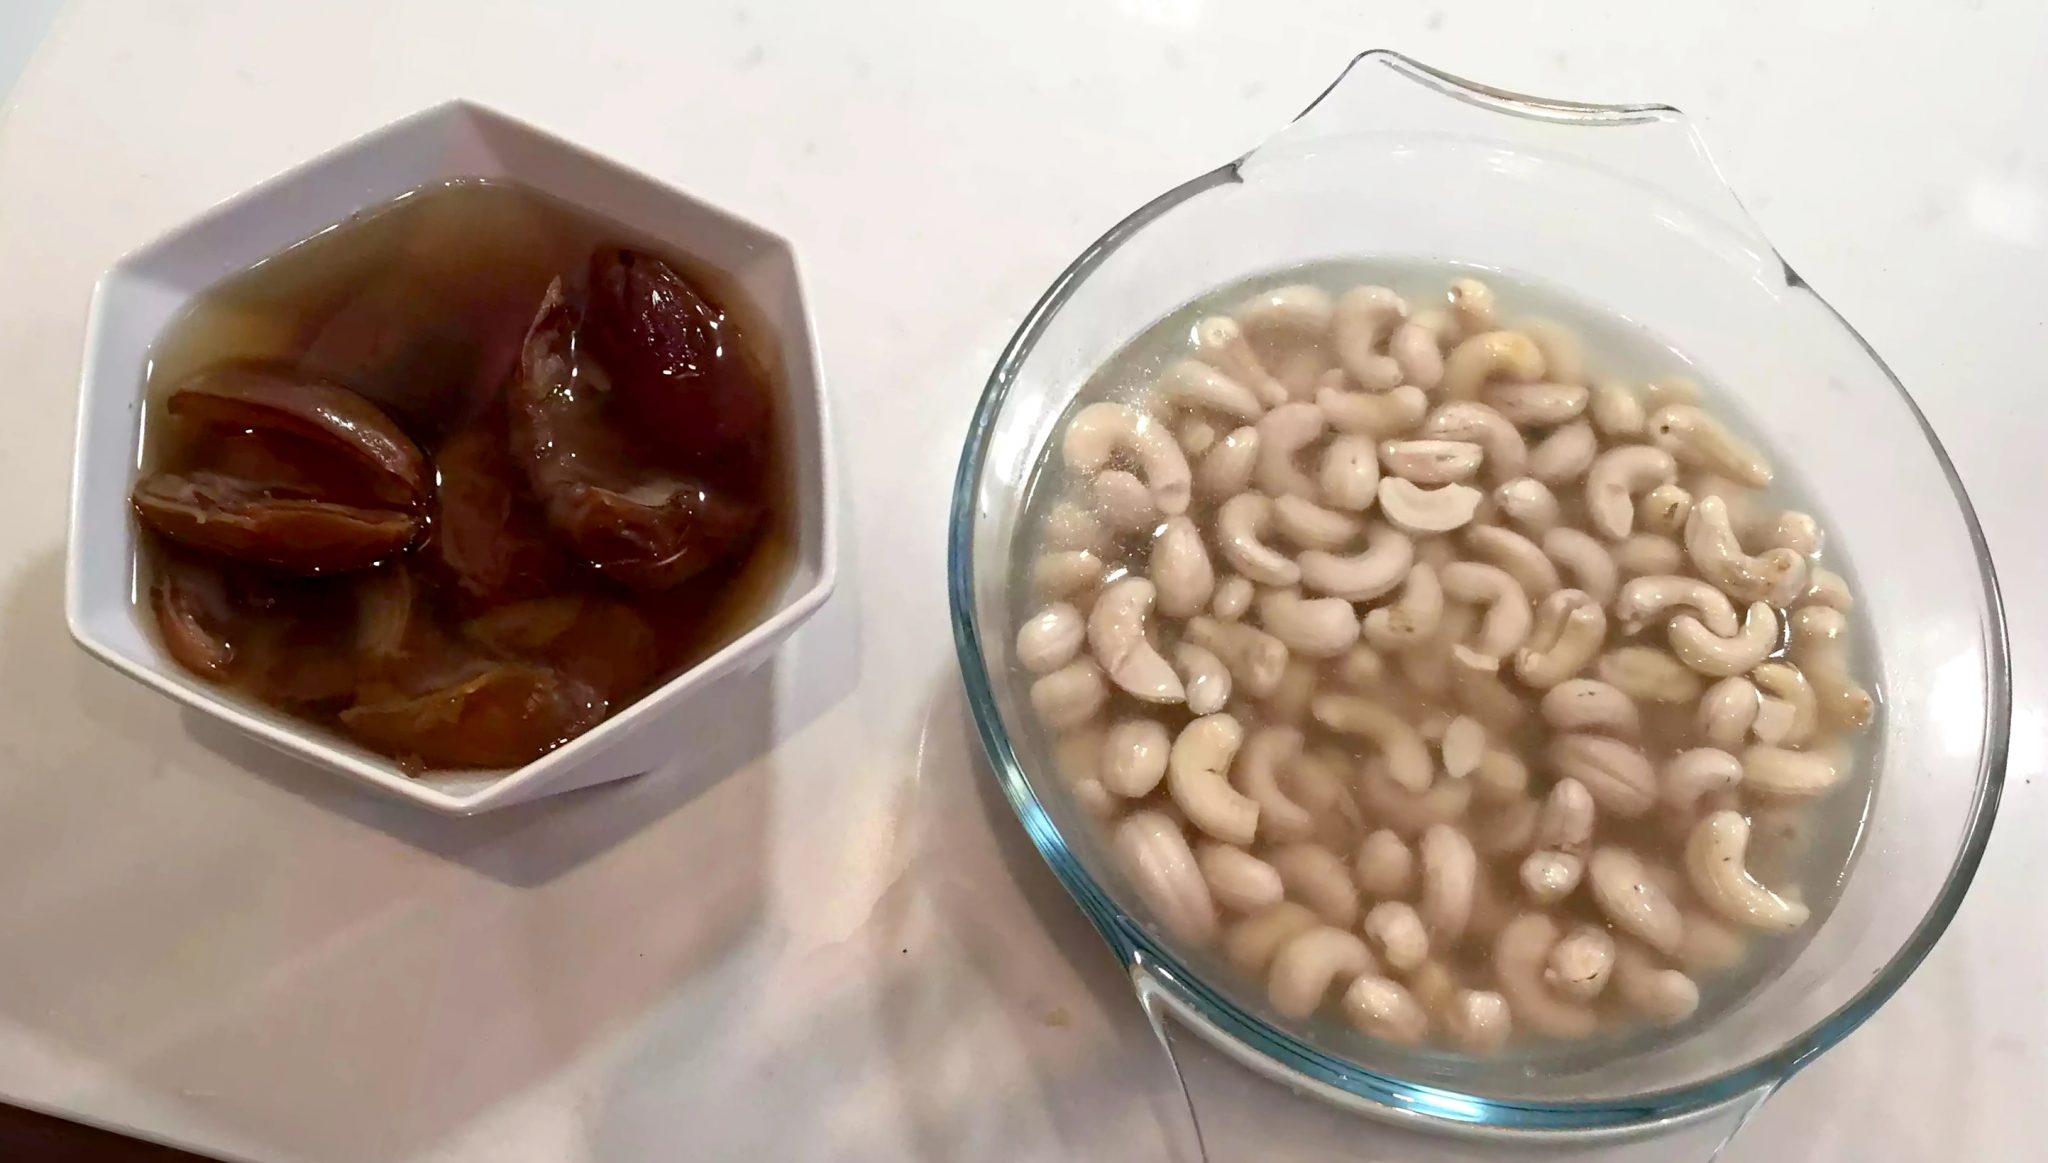
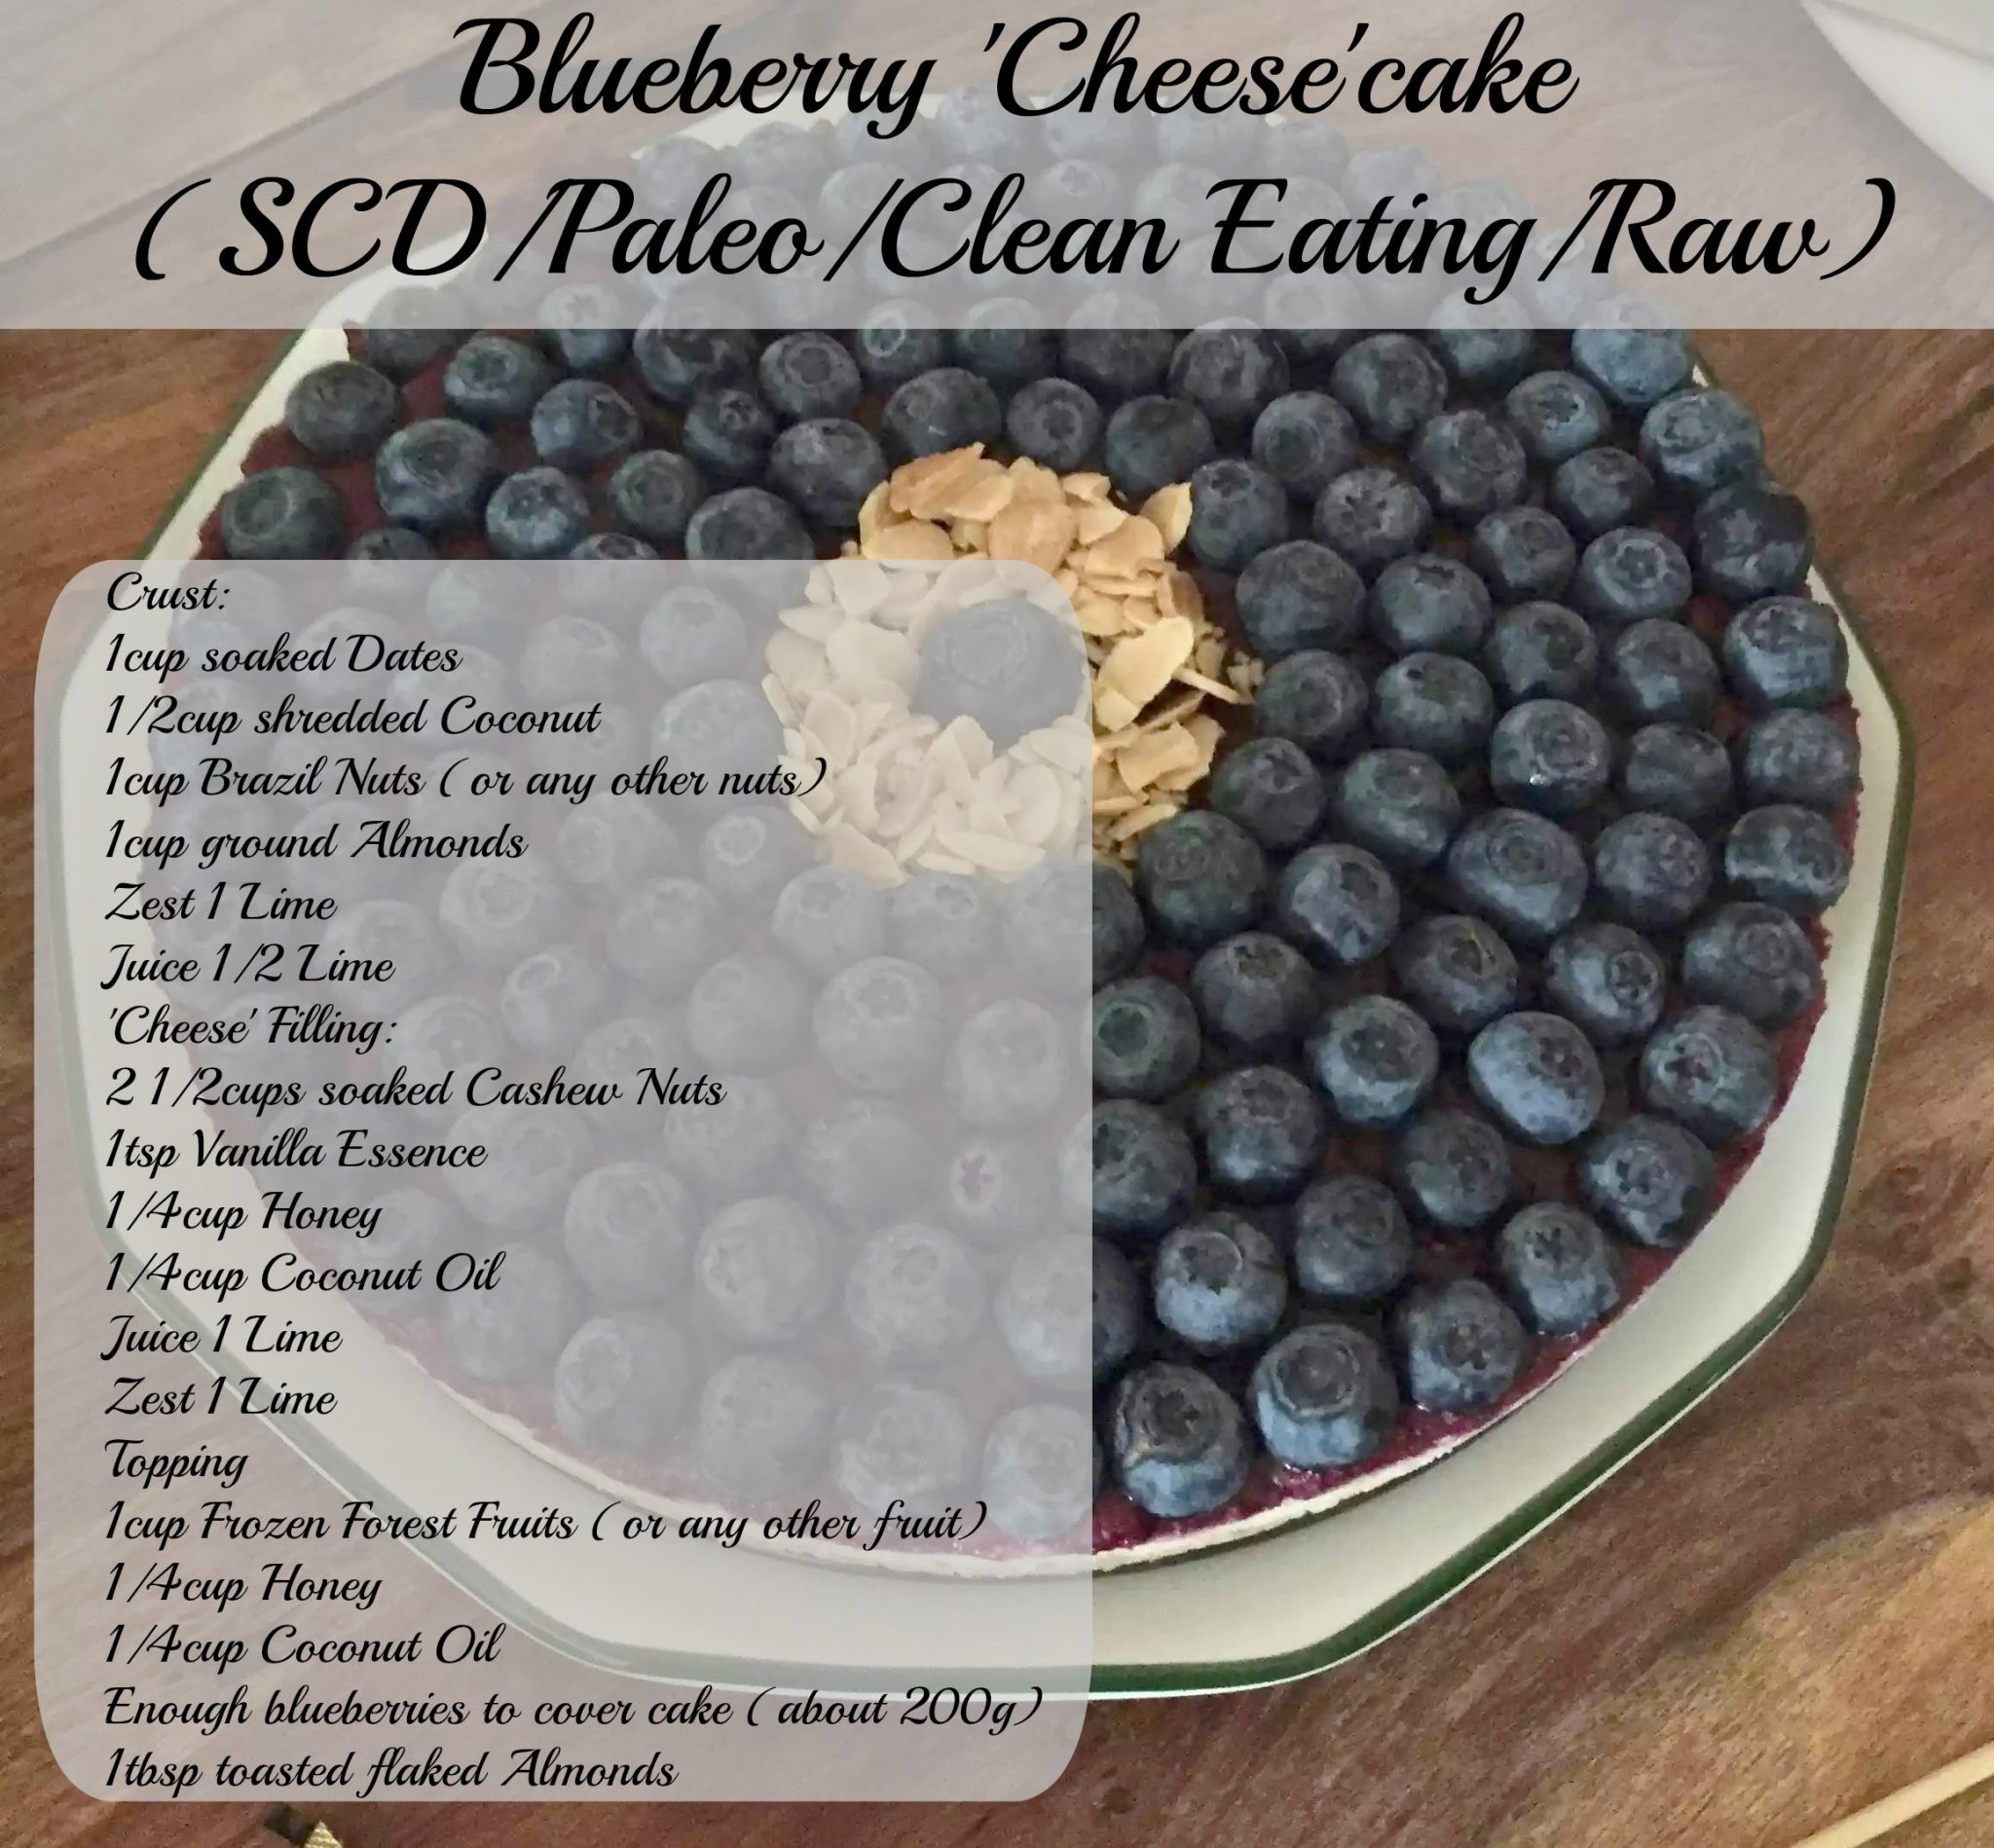 So the day before, I soaked the raw cashew nuts in a bowl of cold water and also the dates in a separate bowl of hot water, left them overnight and they were perfect when I needed to use them the next day.
 To start with I drained the dates (keeping the sweet date water to one side. If anyone can tell me what to do with the date syrup left over from the soaked dates I’d be really interested! – It’s sitting in my fridge at the moment, I might try and boil of some of the water and see if it turns more syrupy). I ground the brazil nuts in my food processor until they were tiny chunks – I prefer them like this to grinding them finer as it gives the base more of a crunch. Adding the dates, the almond flour and the coconut to the crushed nuts, I whizzed everything in the food processor, along with the lime zest and juice, until it started to come together like a sticky dough. (I just used whatever nuts I had around, which this time happened to be brazil nuts, coconut and almonds, but I would really recommend definitely using coconut as one of the ingredients in the base. It makes a difference to the overall texture and flavour – the other nuts are interchangeable).
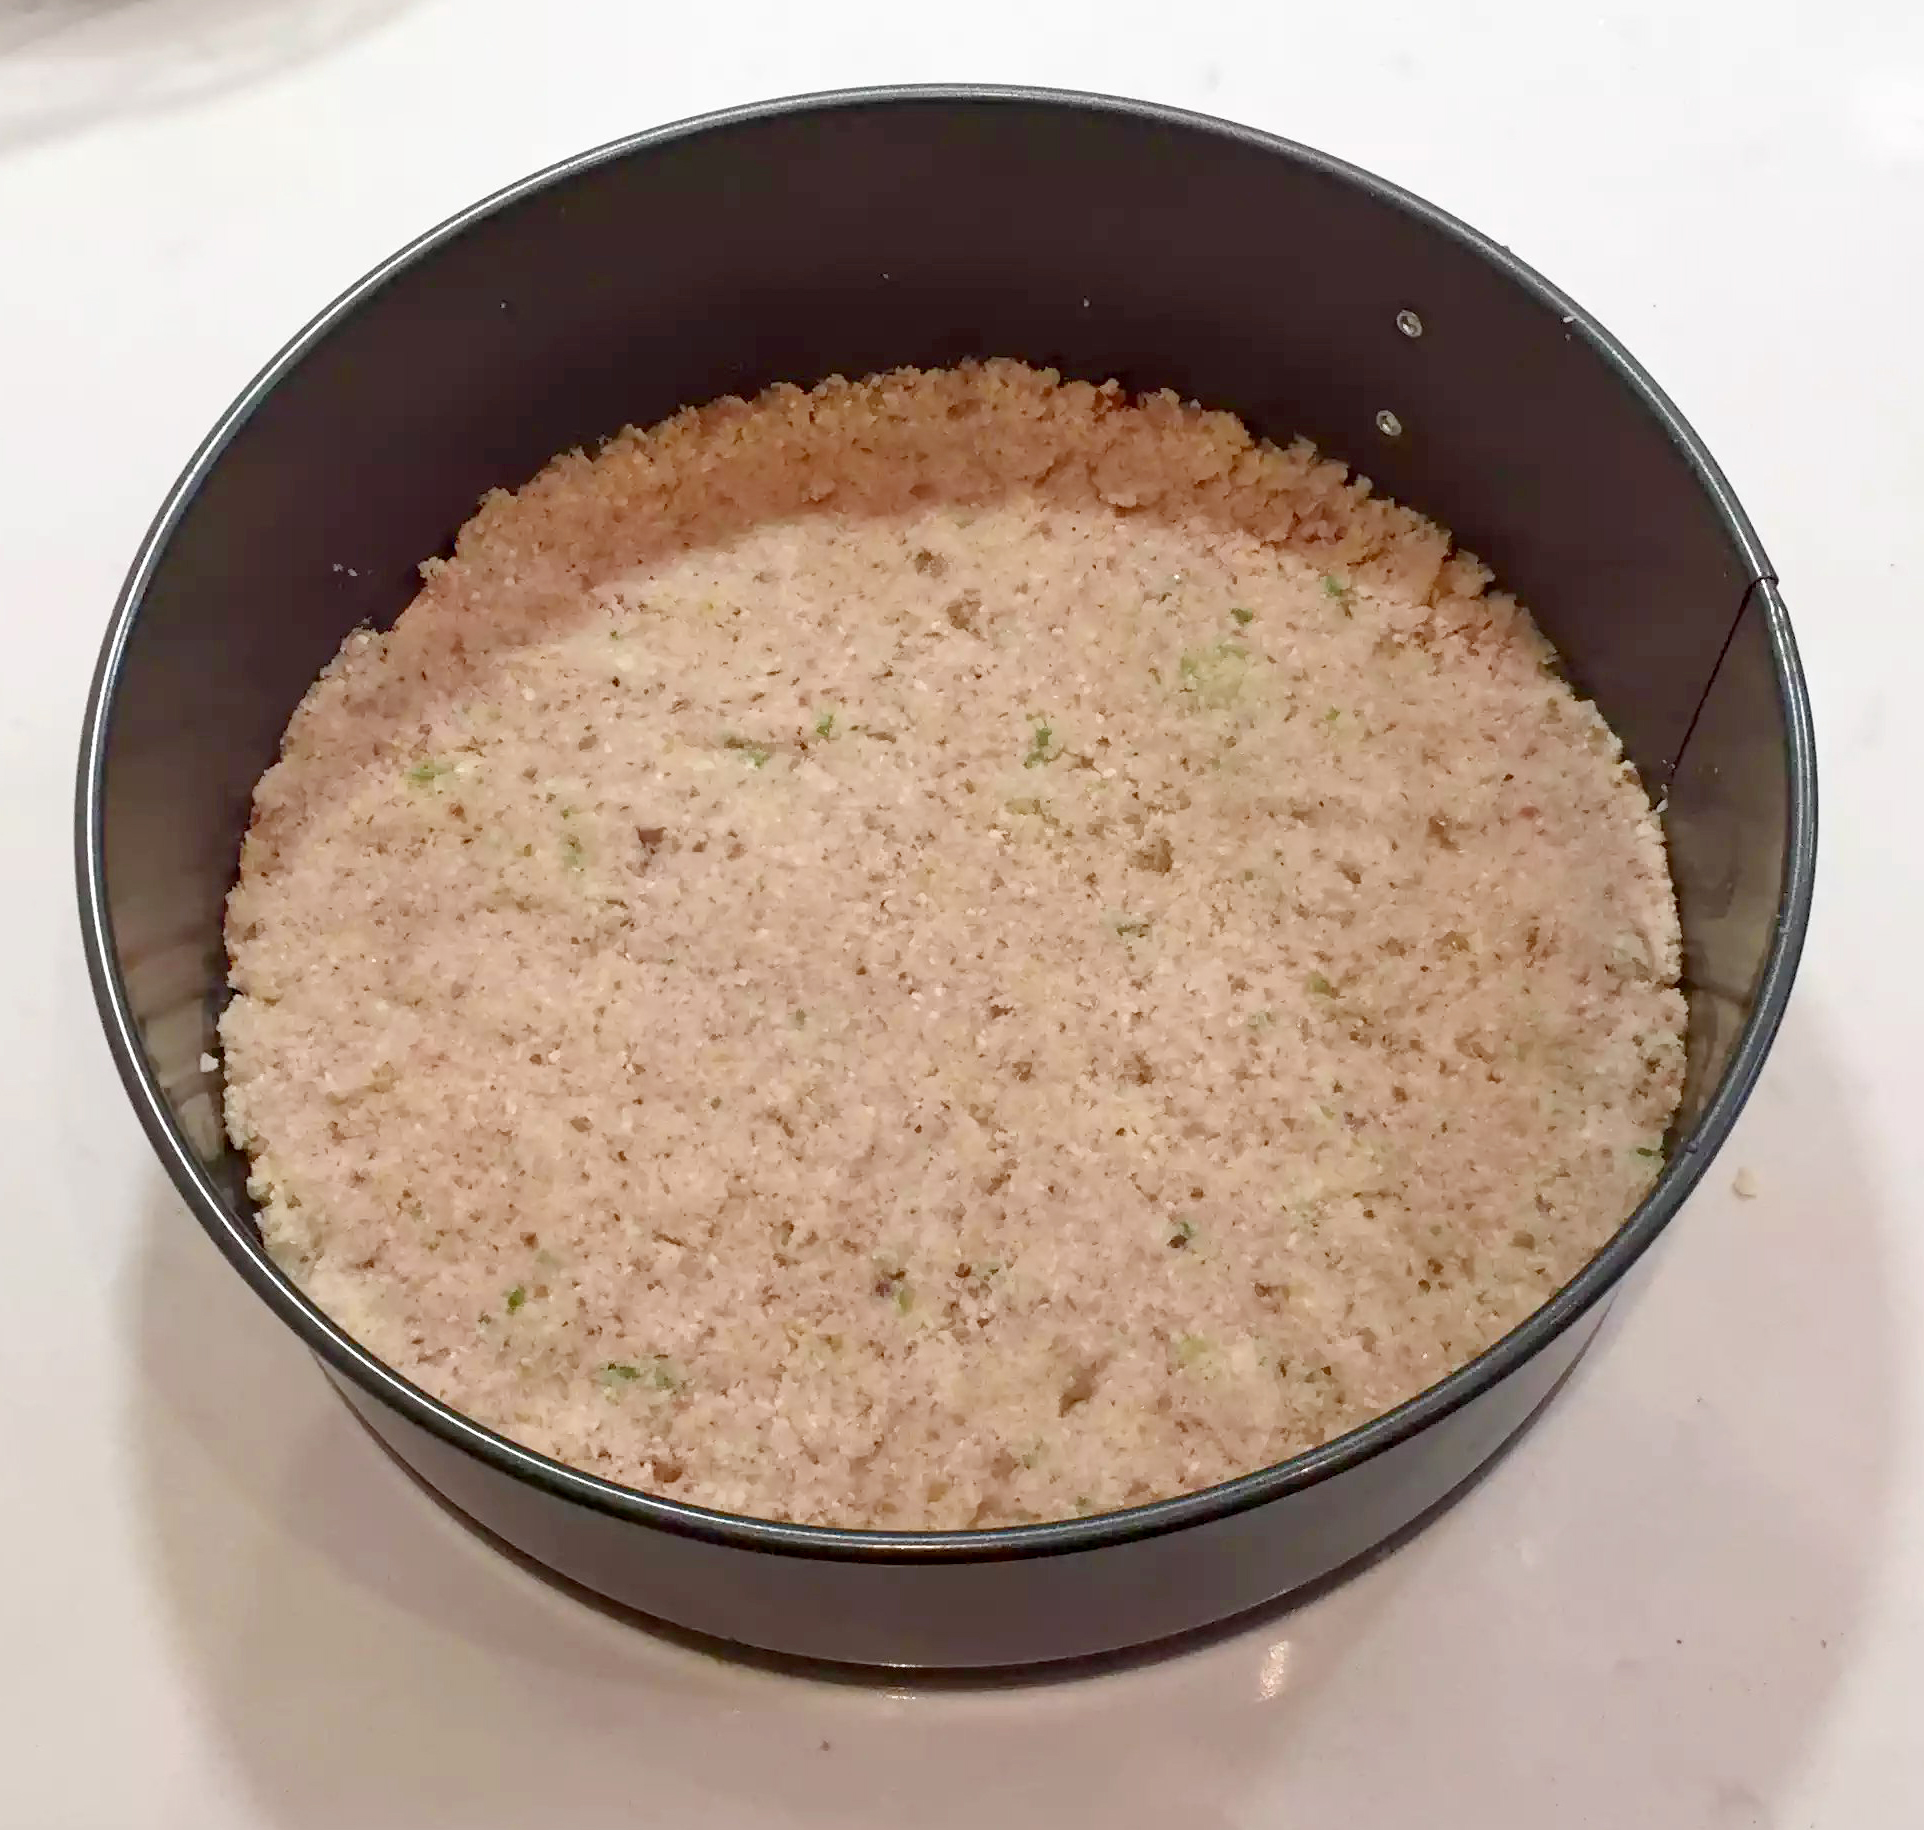
Once the dough had all come together, I turned it out into the cake pan and pressed it down using my fingers until it was the same height all the way across and it covered the entire base. I popped the tin in the fridge and got on with making the filling. I drained the cashew nuts and whizzed them up until the mixture was smooth and creamy. Be patient as this can take close to 10mins or so to ensure that there are no lumps. Then to this I added the honey, lime juice, lime zest, coconut oil and vanilla essence. Blending again until they were all incorporated, I got the base out of the fridge and spread the cashew filling on top of it, levelling it off so it was an even layer.
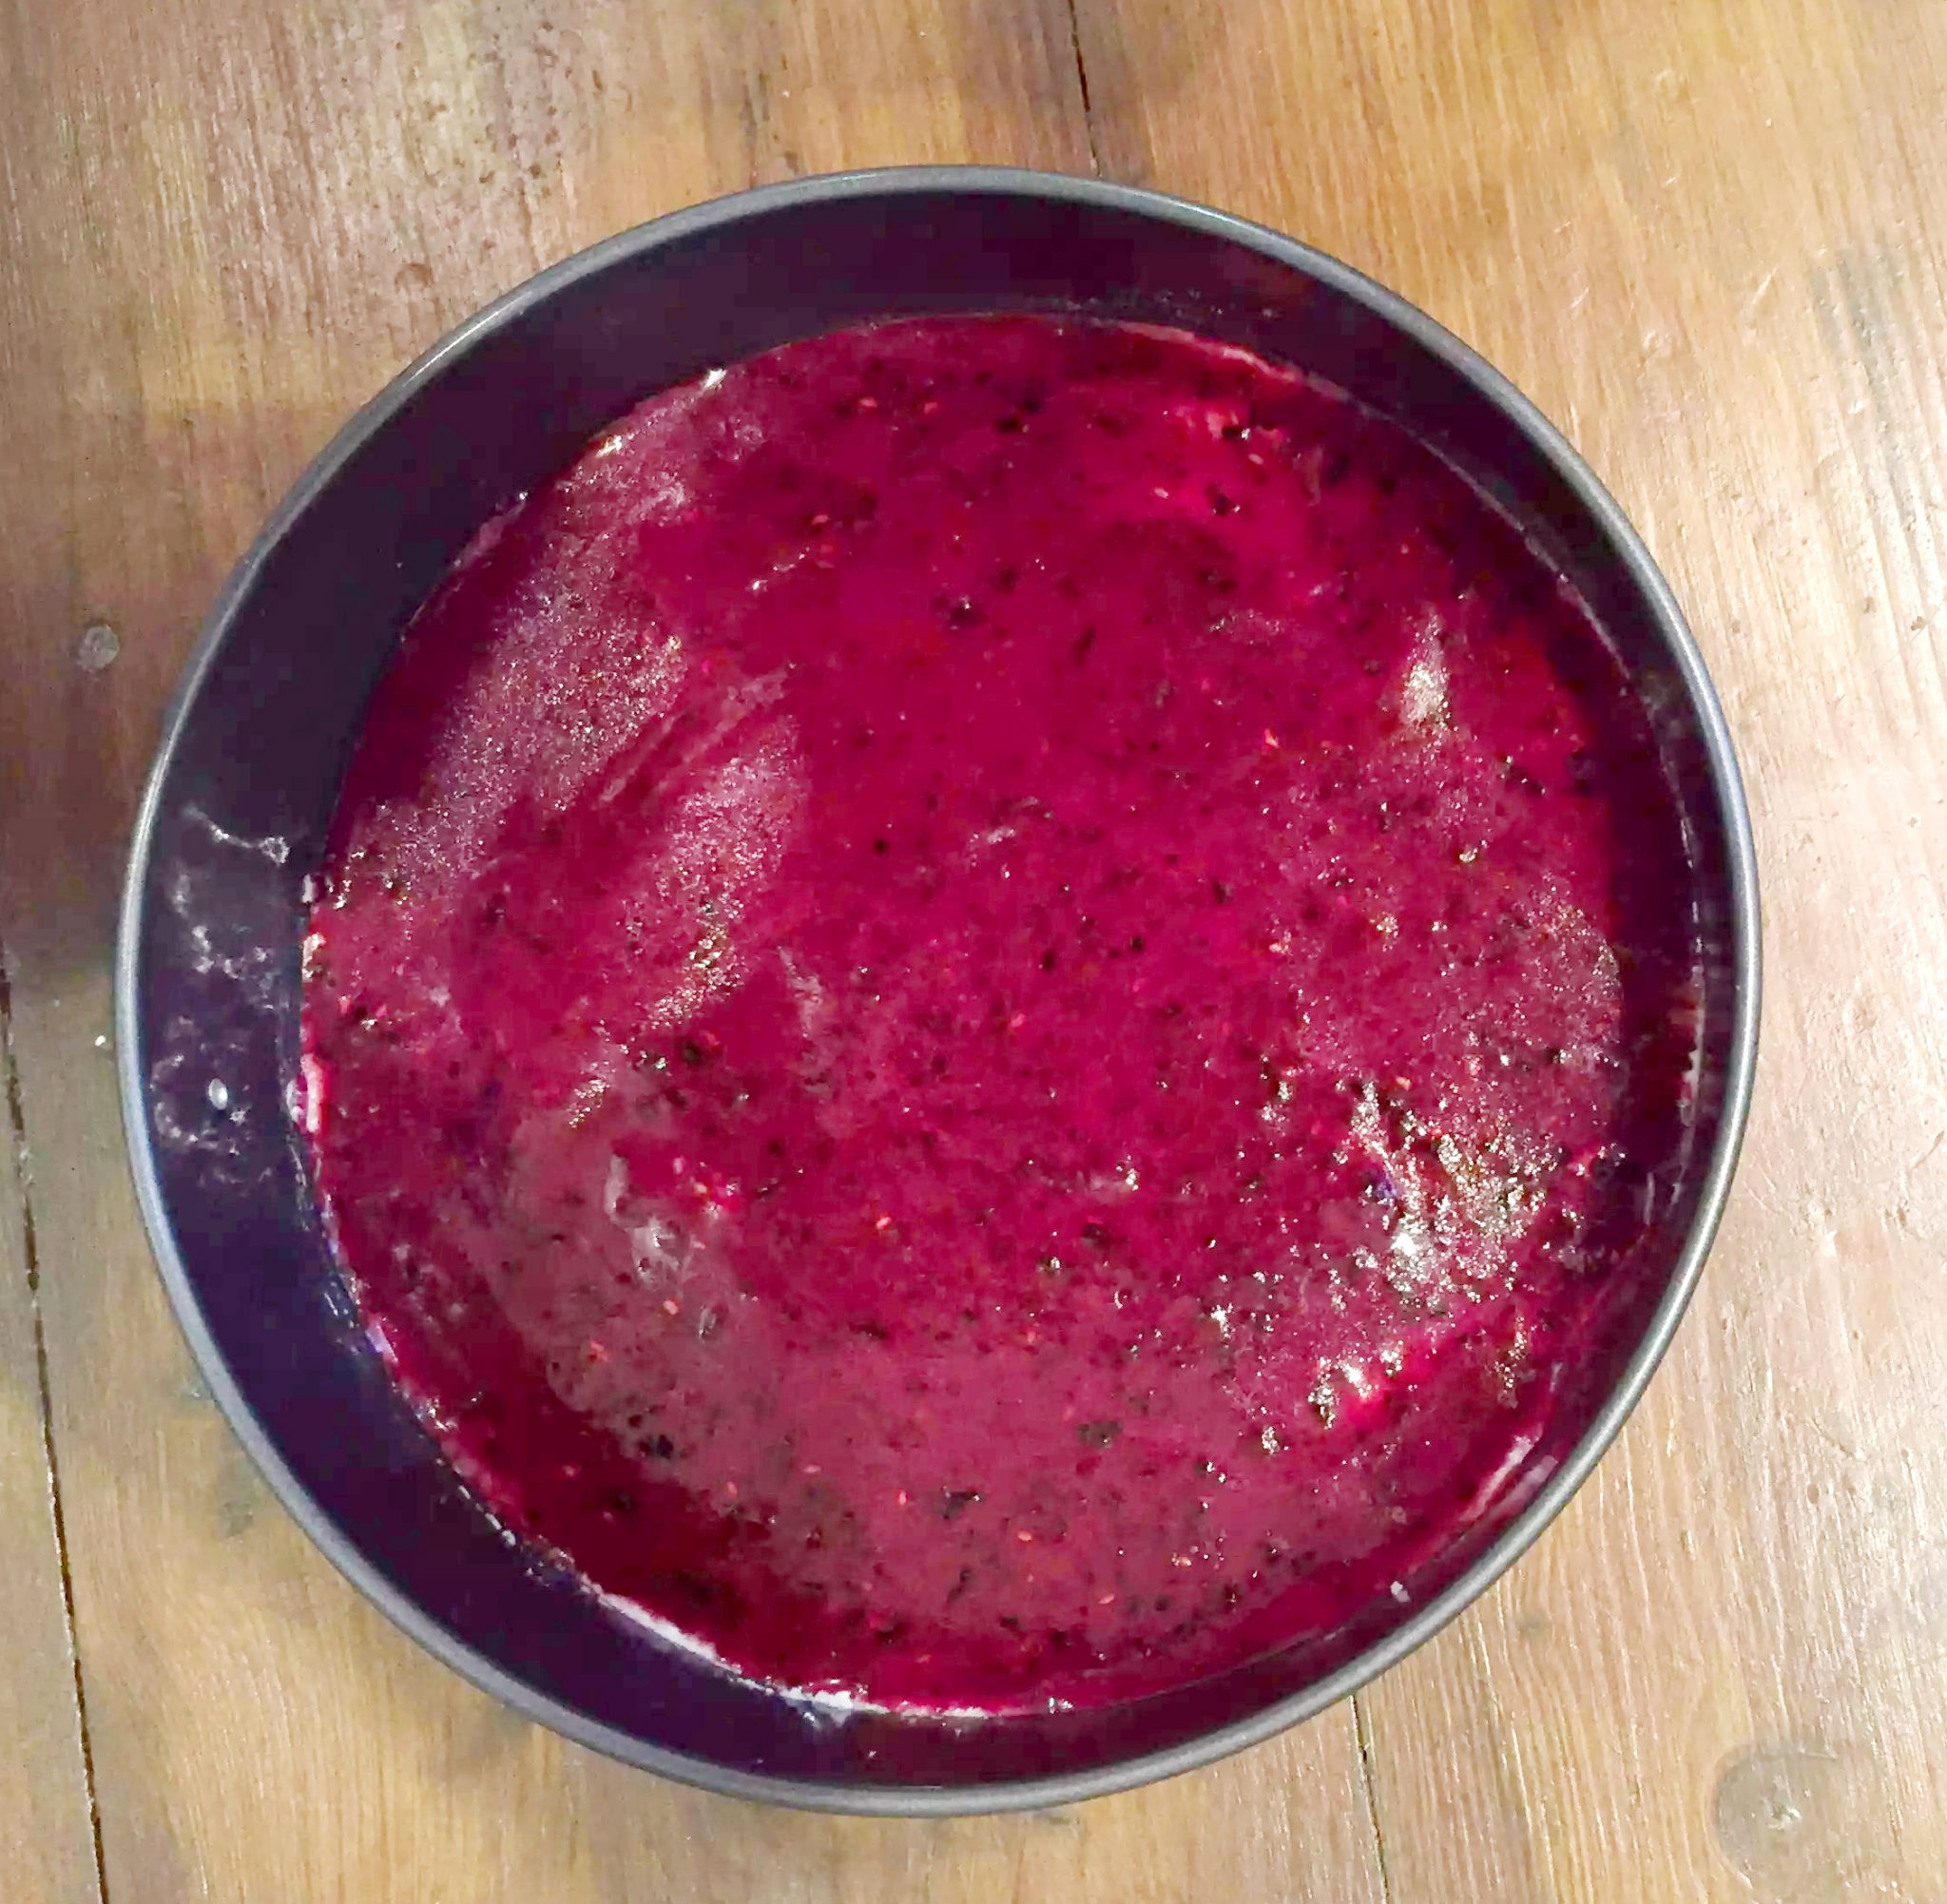
Returning it to the fridge, I set about making the topping. This determines the flavour of the cake, and really, you could use any fruit that you have to hand. I had some frozen forest fruits to use up which consisted of blackcurrants, raspberries and strawberries so I blended that, with the coconut oil and honey.
It was absolutely incredible. As the fruit I used was frozen, the blended mixture resembled the most amazing sorbet I’d ever eaten and I had trouble not eating the lot and saving enough for the cake. (It’s given me an idea to try and make a similar thing and freeze it in ice lolly molds, so look out for that one in a future blog post!)
I let the fruit mixture melt enough until it was pourable and then topped the cake with it and put the whole thing back in the fridge to firm up.
 Then I painstakingly placed every individual blueberry on the top – this really isn’t necessary, you could just make a pile in the middle or sprinkle a few around. Of course, any fruit would work just aswell, strawberries or raspberries or even a crushed nut topping, toasted pistachios or hazelnuts would be delicious. Just before serving, I added the toasted flaked almonds for a bit of colour and crunch (they would have gone soggy if I’d done them earlier).
 I have to say that all three layers of the cake were delicious on their own! I’d quite happily eat the base as a date and nut energy bar, the cashew filling would be perfect as a dip for apple slices or any other fruit, and the fruit topping was a ‘to die for’ sorbet.
I used a 9inch springform cake pan and I’d say the final cake was probably about an inch high, so you could get away with using a smaller pan and having a taller cake – which would probably look better. It’s a very rich cake with all the nuts it contains though so if you make it taller then cut smaller slices!!
It looked very impressive when I turned it out and it’s definitely a special celebration cake but so easy to make. As I said, it’s very rich, but delicious, and not too sweet which I liked. At the hen party, everyone was very intrigued and even those who didn’t have any food allergies or intolerances tried it and really loved it. It’s definitely not something you could pass off as a cheesecake and no one would notice but it’s special in its own way. The final cake really doesn’t taste like nuts at all and I was very impressed at how the cashews blended down into such a smooth paste.
So how did the hen party go?…what goes on on tour stays on tour I’m afraid, but we had lots of fun and giggles and lots of cherry brandy jelly shots!!

HAPPY HEN DO JIAJIA – it was awesome!


oooh! Yummy! I’d love a slice!
Oh, this looks so delicious. I will be trying this this weekend!
You had me as soon as I saw those blueberries. this looks awesome!
WOW! Looks delicious and sounds healthy, what more to ask for?!
Sounds delicious and it is healthy? I am requesting a cross section photo next time you make this one!
This is beautiful! And sounds so amazing!
The recipe looks so yummy.. I will give it s try. Did you soak the dates in hot water or normal room temperature water ??
Hi Prajakta – I used hot water from the kettle as it helps release the flavour better! I hope you enjoy!
What an easy to follow recipe that’s healthy too!