Portuguese Chicken Piri Piri
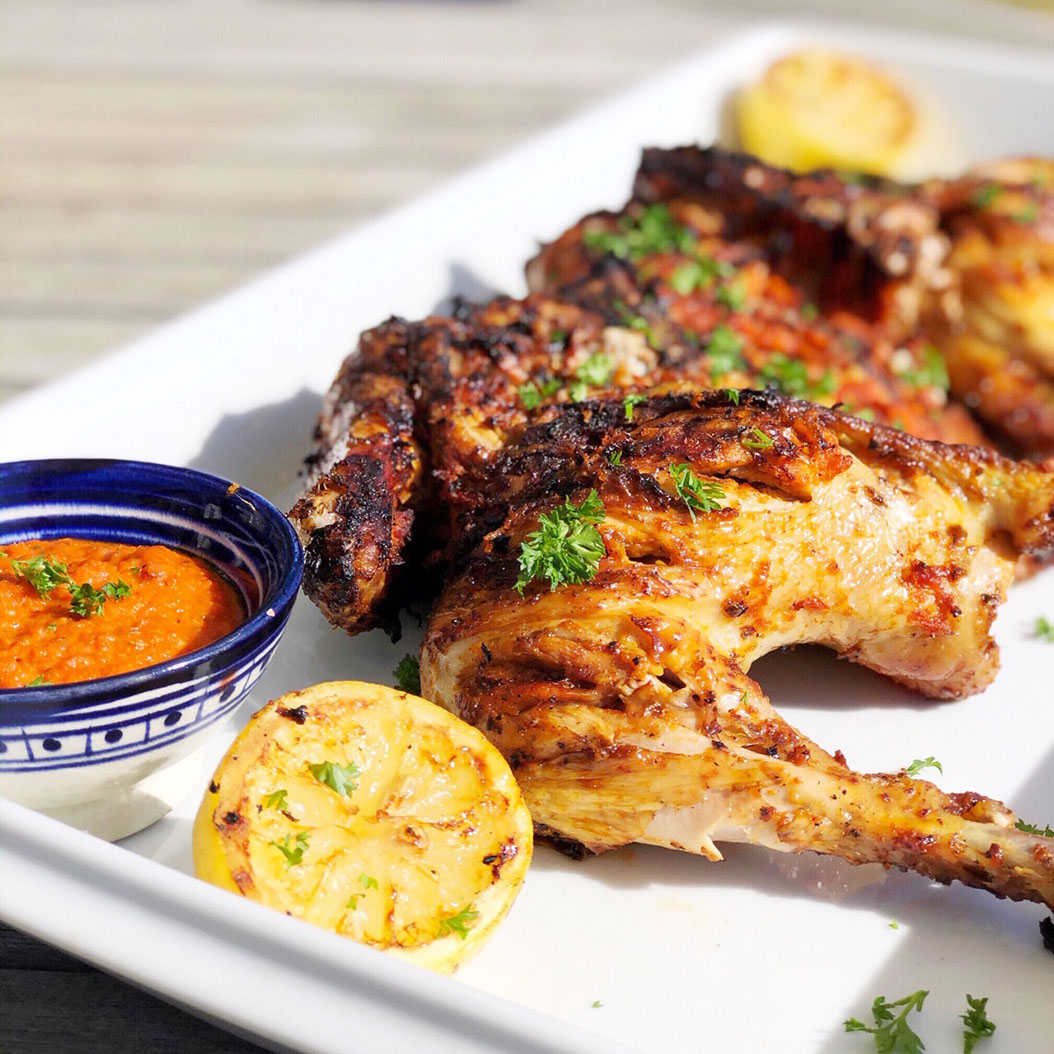
I had to do a bit of research when writing this post as I wasn’t really sure what to call this dish. I’ve heard it called both chicken Peri Peri and chicken Piri Piri, but which one is correct? Both, it would seem depending on where you live! After a spot of googling it seems like Peri Peri is the African name for the sauce and Piri Piri is the Portuguese name for it.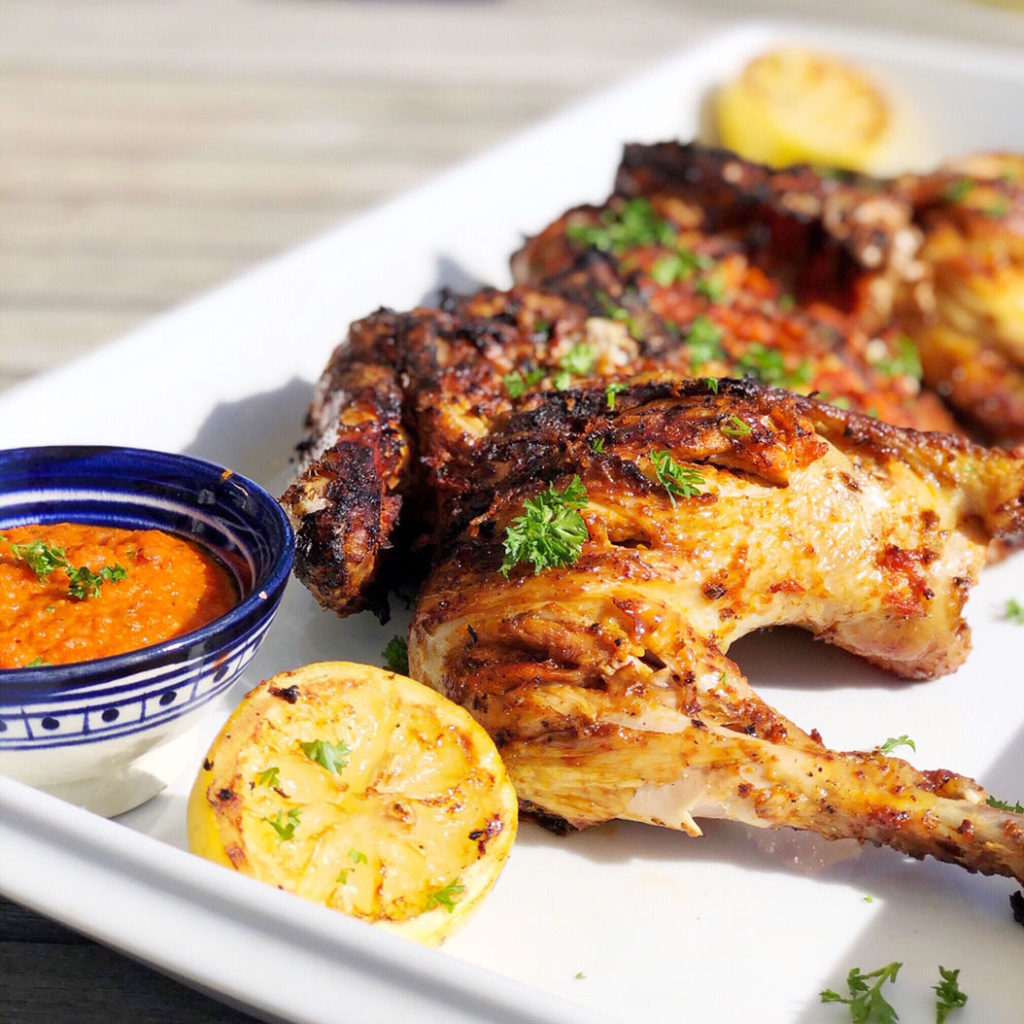
Portugal is my favourite place in the world and I’ve spent many a happy day/night eating chicken Piri Piri in restaurants, but never tried to make it myself. (If you want an insider tip, then head to Marufos in the Algarve. The restaurant looks nothing special but the chicken is the best in Portugal. My family has been going there for 30 years so we have some expertise in the area)! So, I’m definitely in the Portugal camp with the name! Chicken Piri Piri it is!
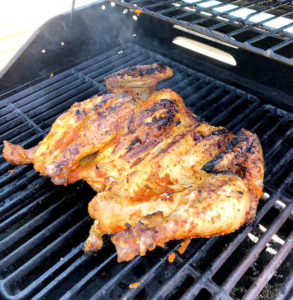
So how to cook the Chicken Piri Piri? I knew that for authenticity it just had to be done on the BBQ. You need that slight charring for that traditional Portuguese flavour and today, the weather was perfect for it. Having never cooked an entire chicken on the BBQ we decided to spatchcock it so that it would cook faster, in the hopes that it wouldn’t dry out. The chicken in Portugal is always so juicy – they seem to spatchcock it and then cook it in a rotisserie but we had to make do with what we had. The BBQ it was!
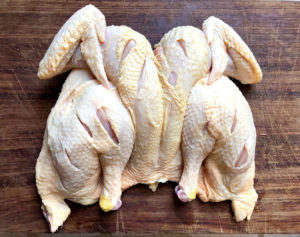
The chicken was fairly easy to spatchcock, you can read all about how I did it here. Just make sure you have a sharp knife! Once I had the chicken spatchcocked and flattened out, I scored some cuts into the meaty parts (the thighs and breasts) so that the sauce could penetrate further. Then it is time to marinate it.
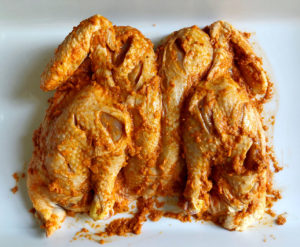
Firstly, you need to make the Piri-Piri Sauce using my recipe here. Then, you need to rub half of the sauce all over the chicken making sure to get as much as possible under the skin and into the scored parts, to infuse the flavour while cooking. Save the other half of the sauce to baste it while it’s cooking. Once marinated, cover it with cling film and set aside in the fridge for at least a couple of hours.
I took the chicken out of the fridge 30mins before starting to cook to ensure that it could come up to room temperature. This allows it to cook properly in the times specified. If you are starting with a chicken straight out of the fridge, it will need longer on the BBQ so you will need to adjust your cooking times accordingly – my chicken was 1.2kg.
We set the BBQ on a medium heat. The chicken needs to cook all the way through without completely burning the outside so it’s best to cook it slower for longer. If the BBQ is set too high the outside will burn before the inside has had a chance to cook. It’s also great if your BBQ has a hood as this will help keep the heat in and cook the chicken from every angle rather than just from the flames at the bottom. (No worries if it doesn’t – it may just take a little longer and you’ll have to turn it more times).
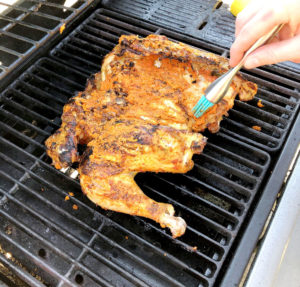
Check the chicken every 10 mins or so to see how it’s doing. Turn it over a few times during the cooking process so it cooks evenly on both sides. You can also baste the chicken with more of the Piri Piri sauce as it cooks!
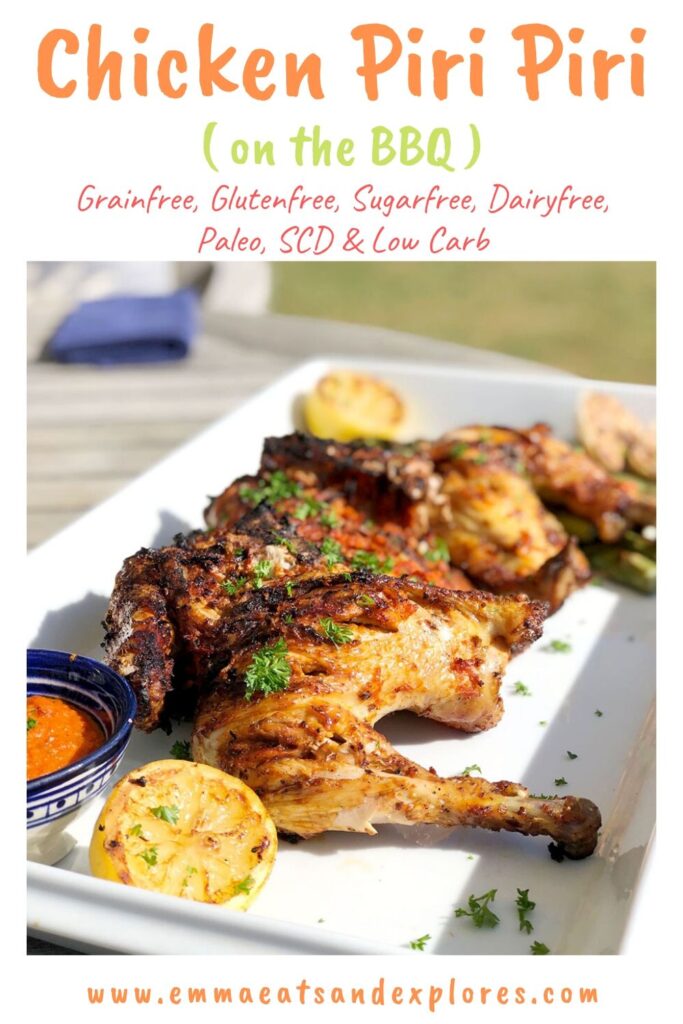
While the chicken was on the BBQ I prepped the sides. I made roasted garlic along with some roasted sweet potatoes. I also made a delicious Halloumi, Blueberry & Mixed Nut Salad to serve it with (recipe coming soon). We BBQ’d some asparagus spears and lemon wedges to have alongside the final dish too.
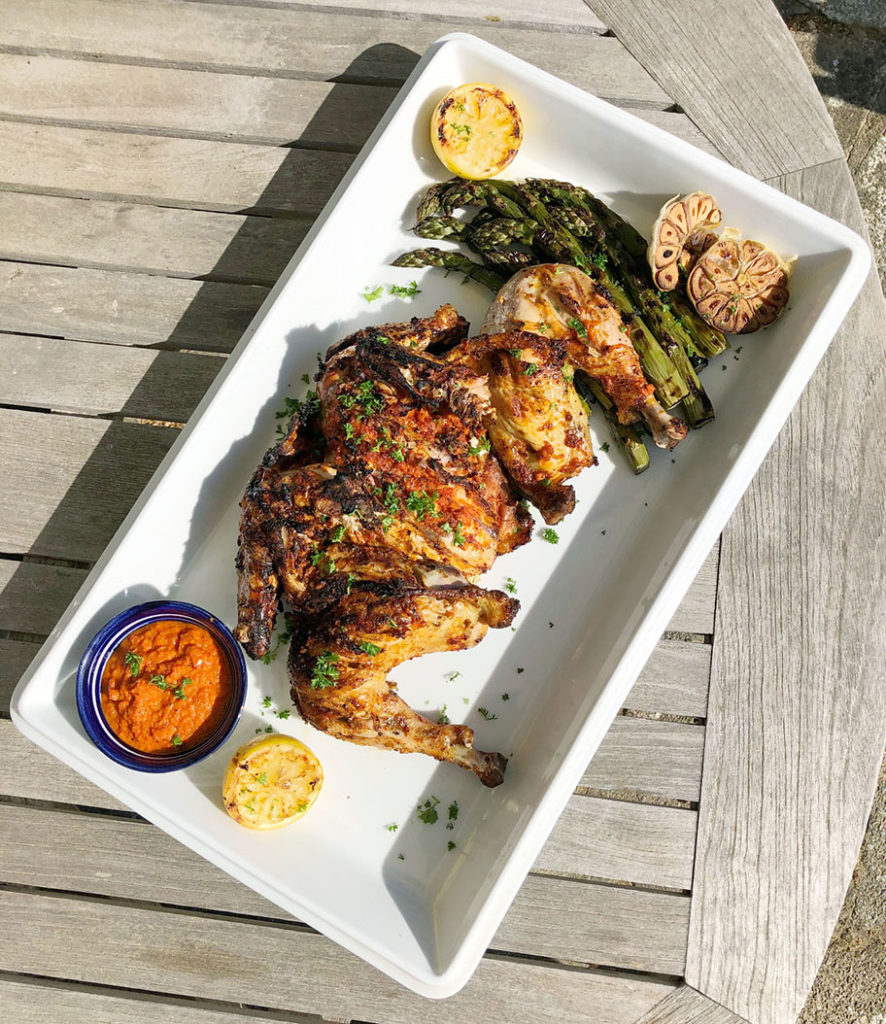
The chicken needs to be on the BBQ for around 35-45 mins (depending on the temperature of your BBQ) until it is cooked all the way through and slightly charred on the outside. You can check if it is fully cooked by piercing the thigh with a skewer and making sure that any juices that run out are clear.
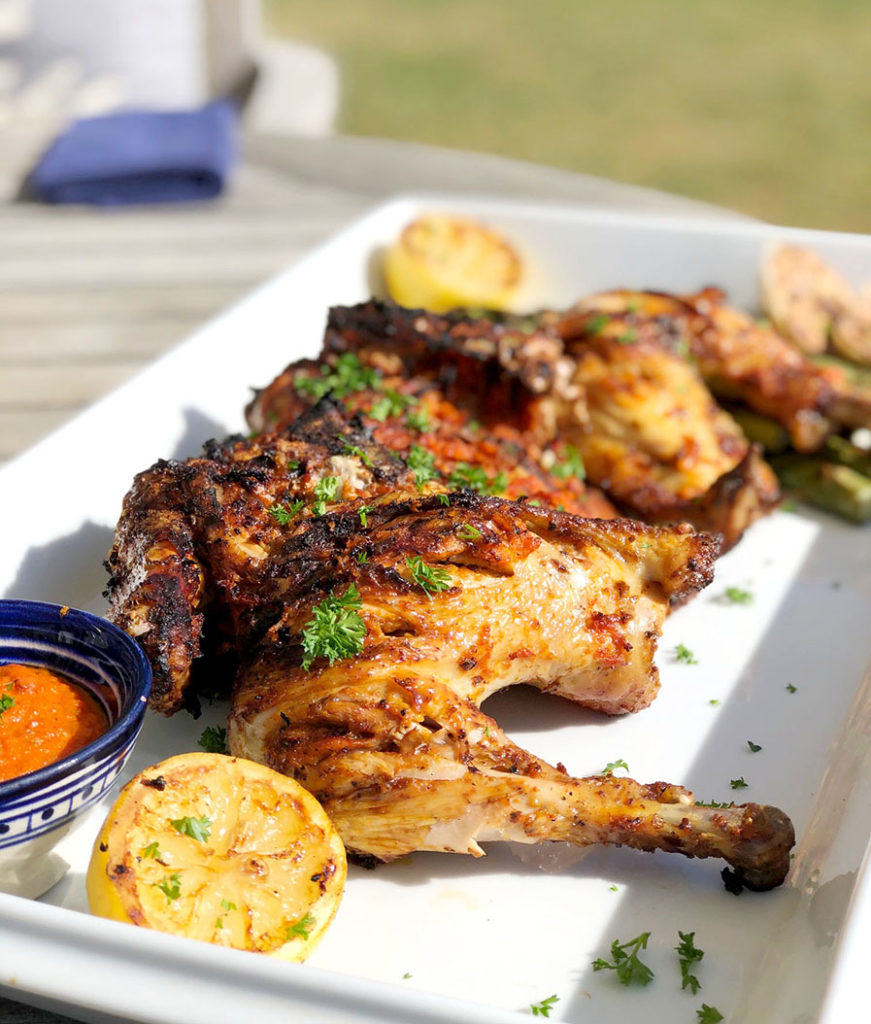
I covered it with tin foil and allowed it to rest for 10mins before carving it up and serving with all the sides. The Piri Piri sauce made it look and smell fantastic whilst it was cooking and the skin looked crispy and really appetising. When we cut into it the chicken was moist and juicy with that hint of chargrill and spice. I served it with some more of the Piri Piri sauce to dip into, for those who like it hot!
It almost felt like we were back in Portugal enjoying a long lazy lunch in the sun! Summer on a plate!
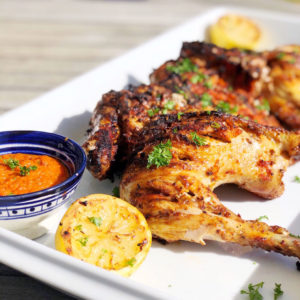
Chicken Piri Piri
Ingredients
- 1 whole chicken (around 1.2kg)
For the Piri Piri Sauce
- 4 small onions
- 8 cloves garlic
- 1 lemon
- 4 tbsps apple cider vinegar
- 4 tbsps olive oil (maybe more depending on how thick the sauce ends up)
- 1 tsp chipotle chilli flakes (any chilli flakes will work)
- 4 tbsps smoked paprika
- 1 tbsp dried oregano
- 1 birdseye chilli (more if you like it hotter)
- salt & black pepper
Instructions
Make the Piri Piri Sauce
- Peel and roughly chop the onions and the garlic.
- Juice and zest the lemon.
- Add all the ingredients except the olive oil to a food processor and blitz into a paste.
- Add the olive oil, bit by bit until you have achieved the right consistency and season well with salt and black pepper.
Marinate the Chicken
- Spatchcock the chicken (see my instructions https://emmaeatsandexplores.com/spatchcock-a-chicken/ if you are unsure how to do this).
- Score some deep cuts into the fleshy parts of the chicken (thighs and breasts).
- Smear half of the Piri Piri sauce onto the meat or fish and leave to marinate for a few hours before cooking.
Cooking the Chicken
- Allow the chicken to come to room temperature before cooking.
- Set the BBQ to a medium heat.
- Cook the chicken with the lid closed, turning every 10 minutes or so basting the meat with more of the Piri Piri sauce as it cooks.
- BBQ for around 35-45 mins until the chicken is cooked all the way through and slightly charred on the outside.
- Allow to rest for 10 mins before serving.
Dietary & Allergy Information for Chicken Piri Piri
This recipe is Grain-Free, Gluten-Free, Dairy-Free & Refined-Sugar Free. Also suitable for Paleo, Specific Carbohydrate Diet – SCD & Low Carb diets.
See my Products Page for Ingredients & Bakeware that I recommend.
I don’t eat meat but I love how easy this is to make and leftovers too.
This looks so tasty! We love to make this kind of chicken — great reheats during the week
Peri-peri is super popular here in South Africa, I only got to taste it when I moved here, it gives the food such a special taste! Making this over the weekend will solve almost all of our meals during the following week.
I must try the Peri Peri chicken, I could tell it is flavorful.
SAVING THIS RECIPE – my husband and I NEED TO make it! NEED TO! It sounds absolutely delicious!!
Very nice recipe. We have to try. So easy, flavorful and delicious.
This is making me feel hungry
This looks totally amazing! I’ve had this at a restaurant, but I’ve never made it myself — it’s going into my meal plan for the near future!